Alright - I was not a fan of this creation but I did have an Uncle-In-Law who enjoyed it so I'm guessing I did something right :D 

Baklava doesn't look appetizing to me - I don't know why but it just doesn't. I did actually enjoy making it because I have never worked with phyllo dough before but I probably will never make it again unless requested. 

Talesha was our gracious host this week and if you'd like to find the recipe for Baklava you can go to her BLOG and she has everything posted there! 

Again I would post more but I just wasn't a fan. I think it was the cloves. I think cloves stink therefore my taste pallet doesn't handle it well I guess haha....

Here are a few pictures from my Baklava :D
 
I have to admit I was a little scared to make this pie. Rhubarb? What in the heck is Rhubarb? Well it looks like celery but is more of a fruit celery and mixes GREAT with strawberries! 

Besides the long process it took to make this pie I was so pleasantly surprised when I finally got to eat it. It's going to be a staple in our house from now on (as long as I can get rhubarb) and we will enjoy it for a long time. My aunts loved the pie and I think they were a little surprised I baked all by my lonesome when I showed up for a BBQ and had a homemade pie for them to eat haha

I ended up using the all-butter crust and it's delicious. Much better than the crust I used for the quiche at the beginning. I didn't have any sour cream so I ended up using whipped cream cheese as a substitute and it worked out wonderful!! YUM YUM YUM!!!

Valerie was our host this week and you can find everything on her BLOG - recipes - directions etc.... Thank you Valerie for hosting such a great recipe this week! Can't wait to make it again!

Here are some of my pictures from my pie. I was a little adventurous too and did lattice work on the top of the pie. It was super easy and I will get better as I keep doing it. :D
 
Well it's my turn to host this week and I'm going to make this short and sweet because I am borrowing my Aunt Gayla's computer (thank you by the way). I do have pictures I will add when I get our internet up and running.

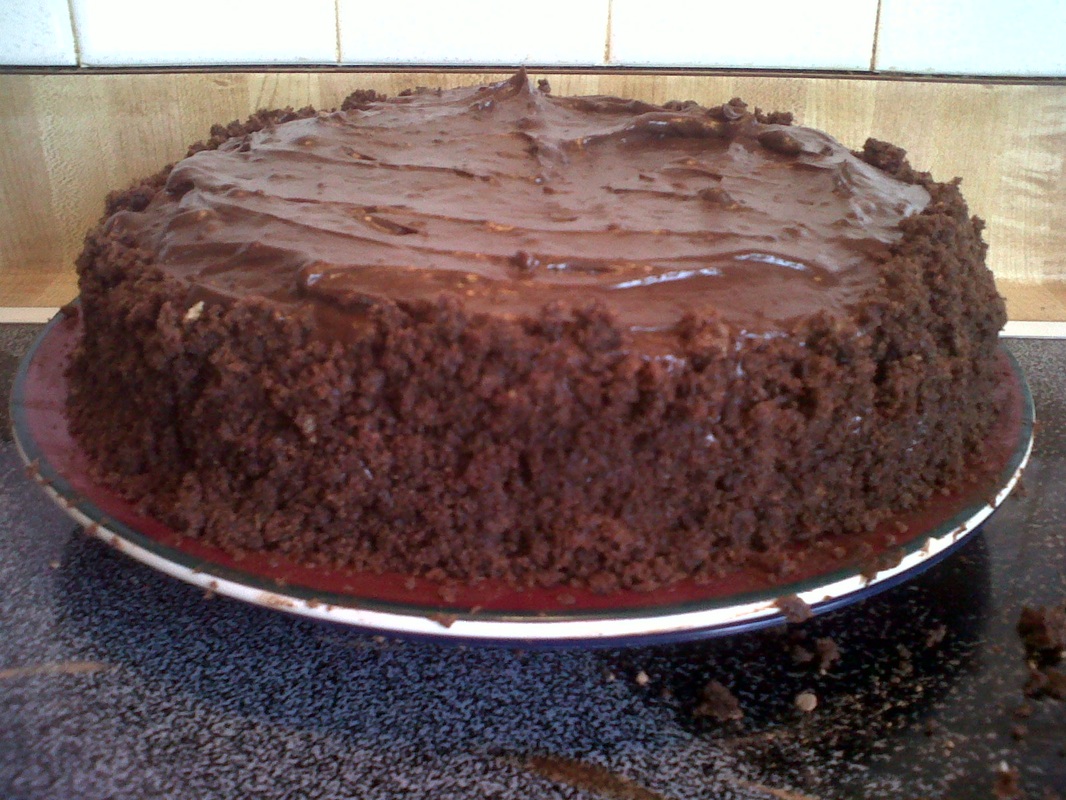
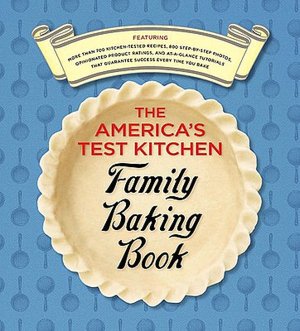
I chose Chocolate Blackout Cake for this week's recipe and you can find it on page 303 on America's Test Kitchen Family Baking Book. I chose this recipe because it has been my husband's birthday this week and he really enjoyed it. :D

Chocolate Blackout Cake
Serves 8-10
Be sure to give the pudding and the cake enough time to cool or you'll end up with runny pudding and gummy cake.

PUDDING
1 1/4 cups granulated sugar
1/4 cup cornstarch
1/2 teaspoon salt
2 cups half-and-half
1 cup whole milk
6 oz. unsweetened chocolate, chopped
2 teaspoons vanilla extract

CAKE
3/4 cup dutch-processed cocoa powder, plus extra dusting
1 1/2 cups all-purpose flour
2 teaspoons baking powder
1/2 teaspoons baking soda
1/2 teaspoon salt
8 tablespoons 91 stick) unsalted butter
1 cup strong brewed coffee, room temp
1 cup buttermilk, room temp
1 cup packed light brown sugar
1 cup granulated sugar
2 large eggs, room temp
1 teaspoon vanilla extract

1. FOR THE PUDDING: Whisk the granulated sugar, cornstarch, and salt together in a medium saucepan and slowly whisk in the half-and-half and milk. Bring the mix to a simmer over medium heat, whisking constantly, until the mixture thickens, 2-3 minutes. Stir in the chocolate and cook, stirring constantly, until melted and smooth, about 1 minute. Off the heat, stir in the vanilla. Transfer the pudding to a large bowl and press plastic wrap directly on the surface. Refrigerate the pudding until cold, about 4 hours.

2. FOR THE CAKE: Adjust an oven rack to the middle position and heat the oven to 325 degrees. Grease two 8 inch cake pans, then dust with cocoa powder and line the bottoms with parchment paper (see page 2810. In a medium bowl, whisk the flour, baking powder, baking soda and salt together.

3. Melt the butter in a large saucepan over medium heat. Stir in 3/4 coup of the cocoa and cook until fragrant, about 1 minute. Off the heat whisk in the coffee, buttermilk, and sugars until dissolved. Whisk in the eggs and vanilla, then slowly whisk in the flour mixture until no streaks remain. (The batter will be very loose)

4. Give the batter a final stir with a rubber spatula to make sure it is thoroughly combined. Pour the batter into the prepared pans and gently tap the pans on the counter to settle the batter. Bake the cakes until a toothpick inserted in the center comes out with a few crumbs attached, 30-35 minutes, rotating the pans halfway through baking.

5. Let the cakes cool in the pans for 10 minutes. Run a small knife around the edge of the pans then flip them out onto a wire rack. Peel off the parchment paper, flip the cakes right side up and let cool completely before filling and frosting, about 2 hours.

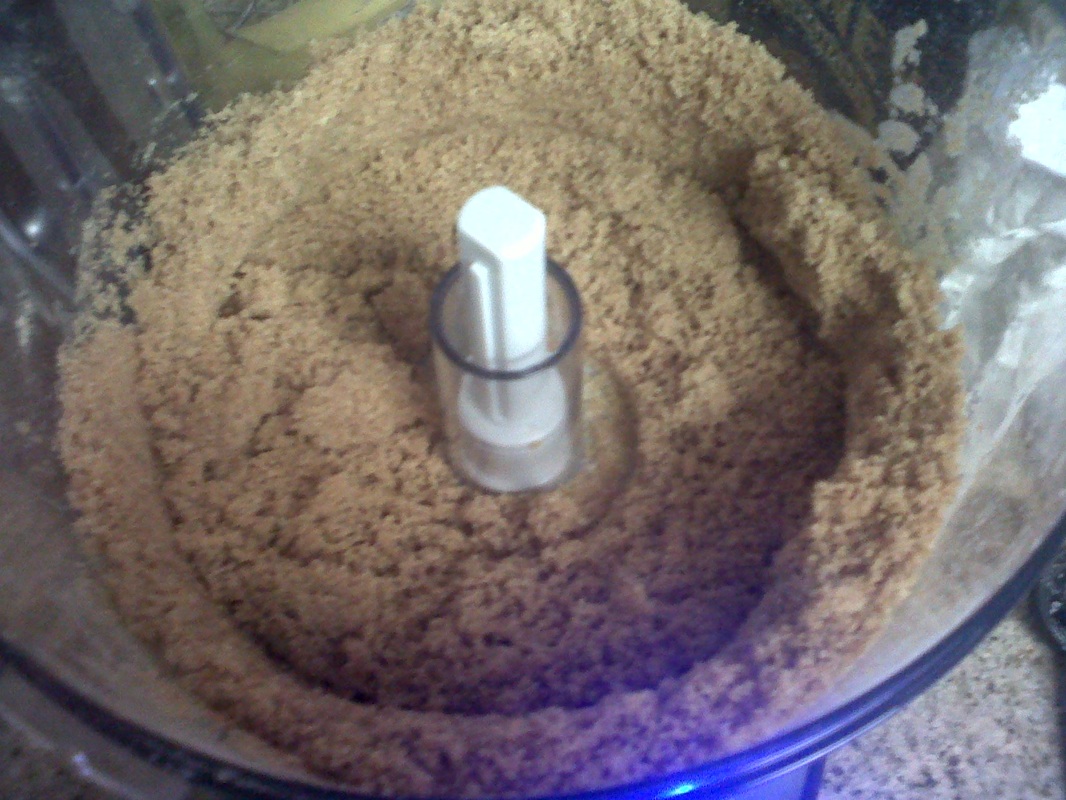
6. Line the edges of a cake platter with strips of parchment paper to keep the platter clean while you assemble the cake. Slice each cake into two even layers using a long serrated knife (see page 287). Following the photo, crumble one of the cake layers into medium-sized crumbs.

7. Place one of the cake layers on the platter. Spread 1 cup of the pudding over the cake right to the edges. top with a second cake layer and spread with another 1 cup pudding. Place the remaining cake layer on top and press lightly to adhere. Frost the cake with the remaining pudding. Sprinkle the cake crumbs evenly over the top and press them onto the sides of cake. Remove the parchment strips from the platter before serving.


I really enjoyed making this cake even though it gave me some fits. But I got through it and it made me excited to start baking again :D If you tried this and loved it I'm glad. If you didn't like it - I'm sorry :( I hope you enjoy it though if you decide to make it.

Happy Baking!


Let's try this again shall we. I have typed this twice and it hasn't posted, so we are trying again. First of all, I have no pictures, my camera (not my phone camera that I usually use) crapped the bed on me so I am left with no pictures this week. Frankly I'm really upset because I had put the chocolate chips on top to add design to the treat but instead I am left with nothing to show for it.

Jesse hosted this week and you can find the recipe and instructions on her blog. When I first saw that she posted this recipe my first inital reaction was "oh boy my husband is going to kill me". Then after much talkin on our little forum I decided to use just one can of sweetened condense milk. I diluted it with a little bit of milk to thin it out a bit and they turned out awesome!

I only took a few bites, but my husband and boys loved them! They were a hit.
 
Alright, this was a tough one to make for me - main reason - my son broke his collarbone right in the middle of me getting everything together and I spent 5 hours with him in two different hospitals (thanks BCBS insurance I hate you). Another reason - the next morning I realized I had forgot one HUGE ingredient - THE CREAM CHEESE! Yes ladies and gentleman, I forgot the Cream Cheese for the Light New York CHEESEcake. Needless to say it still turned out pretty good and my husband said this - "D-LISH!" when he first tasted it.

This week's host was Talesha and you can find the recipe and directions on her blog. I was so excited to get this recipe because Cheesecake is my ABSOLUTE FAVORITE and frankly I could eat it all the time - I did with my first pregnancy! haha But I'm so upset at myself that I forgot a key ingredient. I guess it was one of those "mom" moments where your kids come first, blah blah blah hahahaha I love little guy and he got a big piece after I finally finished it (14 hours after I had started) and he tried to enjoy it but didn't like it as much as his dad.

Some fun notes making this tho - I FINALLY got to use the Food Processor we got for our wedding two years ago. You're probably thinking, "you are just barely using it?" Well, frankly - yes. I had a hard time figuring out how to use it, so i just put it in storage and we also didn't have a lot of room, so I had to store it. I loved it though, I was so excited to use it and finally figure out how to work it. :D Second of all, I used the springform pan that I bought a couple weeks ago and that was fun. Lastly, I actually made the yogurt cheese. I was skeptical about this because I didn't think it would actually work since I didn't have a wire mesh drainer, but it did! How exciting!!

Thank you again Talesha for hosting. It didn't work out as well as I had hoped, but when you have a 2 year-old and a 1 year-old something is going to happen sooner or later and I doubt it's the last time we ever visit an x-ray tech haha.


P.S. If you want to read the blog post on my trip to the docs with Cash, you can find it on our family blog.

Picture
Starting the process to make yogurt cheese.
Picture
The liquid that drained from the yogurt cheese.
Picture
Yogurt cheese after sitting for 15 hours.
Picture
First time using a food processor - I'm in love!
Picture
YUM!!!
 
Well I have come to the conclusion after making these cupcakes that I still don't like chocolate. Yes, you heard me, and you can pick your chin up off the desk now. And before I continue you are probably thinking, why in the hell did she choose a super chocolate cake for her week - well frankly because my husband LOVES chocolate and the week I host, it just happens to be his birthday week so it completely worked out!

Anyways, back to the cupcakes. YUM! (minus the chocolate). I loved these cupcakes and I'm not a huge cake person. I absolutely loved the cupcake mix and probably will be tweaking the cream filling a little bit, but overall they were a huge success. My 2 year-old also loved the fact that he got to taste the batter after it was made. He kept saying "bite, bite" just so he could get a taste.

Amanda was our host this week and she chose a great recipe. You can find it on herblogsite. Thank you Amanda for chosing a great treat this week (and fattening!). Jeff tooke them to work and gave them to my best friend Becky whom he works with and they were literally gone within five minutes!!! They were a hit!

One trick I did learn though - before you cut it down the middle, make sure the cake has cooled for a good 5 hours or so. I cut them for a picture after 24 hours and they worked perfectly!!!

    Archives

    May 2012
    April 2012
    March 2012
    February 2012
    January 2012

    Categories

    All
    Bread
    Breakfast
    Cookies
    Cupcakes
    Desserts
    Dinner
    Muffins
    Snack
    To Bake
    To Bake

    RSS Feed